- Set JAVA_HOME to /usr/j2se.
- In a C shell environment:
# setenv JAVA_HOME /usr/j2se
|
- In a Bourne or Korn shell environment:
# JAVA_HOME=/usr/j2se
# export JAVA_HOME
|
Tip – Add the appropriate statement to your .login or .cshrc file.
- Add /usr/j2se/bin to your system path.
- Place /usr/j2se/bin in your PATH before /usr/bin.
- Place /usr/bin in your PATH before /usr/ucb
Source: http://docs.oracle.com/cd/E19062-01/sun.mgmt.ctr36/819-5418/system-prep-proc-3/index.html
JDK Installation
java -version
java -d64 -version
zcat jdk-6 <update> -solaris-i586.tar.Z | tar -xf -
pkgadd -d . SUNWj6rt SUNWj6dev SUNWj6cfg SUNWj6man SUNWj6dmo
pkgrm SUNWj6rt SUNWj6dev SUNWj6cfg SUNWj6man SUNWj6dmo
64Bit – /usr/jdk/jdk1.6.0
32Bit – /usr/jdk/jdk1.6.0
/usr/java
Komentarze są wyłączone
- Become a superuser (root) by typing:
% su
Password: root-password
- Create a file in a selected directory to add swap space by typing:
mkfile number[m|k|b] /directory/swap-file-name
where number is an amount of swap space, followed by either m for megabyte, k for kilobyte, or b for block. The directory is a directory in which you have permission to add swap space. The swap-file-nameis the name of the swap file you are creating.
For example, to create a 16-megabyte swap file named 16mswapin the foodirectory, type the following:
mkfile 16m /foo/16mswap
See the mkfile(1M) man page for more information.
- Verify that the file was created by typing:
ls -l /directory/swap-file-name
The new file appears in the directory. For example:
ls -l /foo/16mswap
-rw------T   1 root     other    16777216 Dec 12 14:24 /foo/16mswap
- Run the swap command to specify the additional swap space by typing:
swap -a /directory/swap-file-name
- Verify that the extra swap space was added by typing:
swap -s
The output shows the allocated swap space. For example:
swap -s
total: 289336k bytes allocated + 27008k reserved = 316344k used, 298336k available
source: http://docs.oracle.com/cd/E24457_01/html/E21988/gipoj.html
Komentarze są wyłączone
http://docs.oracle.com/cd/E19044-01/sol.containers/817-1592/rmtaskproj.task-10/index.html
projadd -c “Oracle Default Project” group.dba
In order to make Oracle to use this project by default you need to modiy the file /etc/user_attr file. Add the following line to /etc/user_attr
oracle::::project=group.dba
Oracle will now use this project group by default.
To modify the value of max-shm-memory to 6 GB:
# prctl -n project.max-shm-memory -v 6gb -r -i project group.dba
http://oraclehack.blogspot.com/2007/08/installing-10g-on-solaris-10.html
projmod -sK “project.max-shm-memory=(privileged,10G,deny)” group.dba
http://www.c0t0d0s0.org/archives/4205-Less-known-Solaris-Features-Resource-Management-Part-2-How-to-work-with-Tasks-and-Projects.html
Komentarze są wyłączone
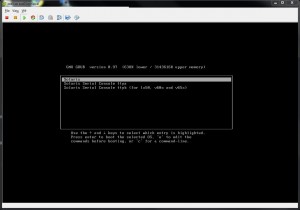
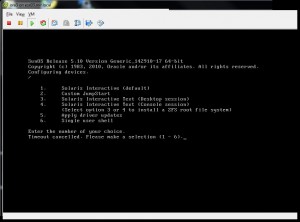
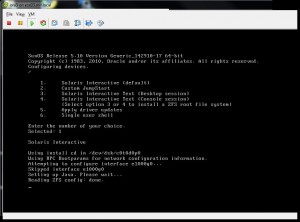
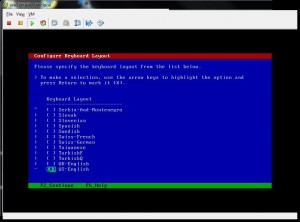
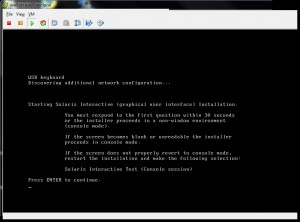
ENTER 
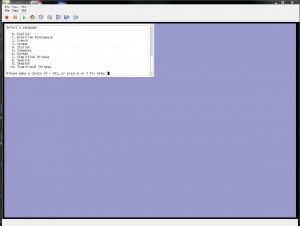
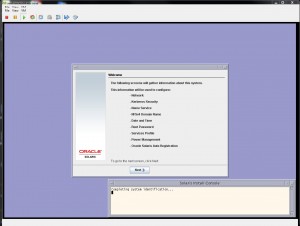
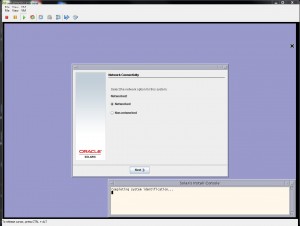


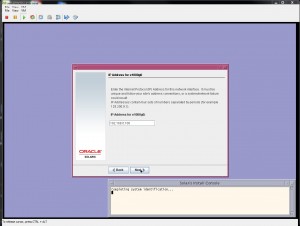


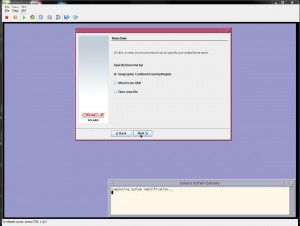
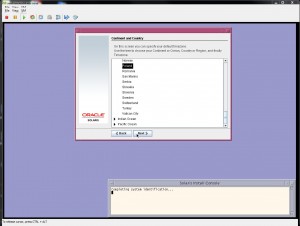
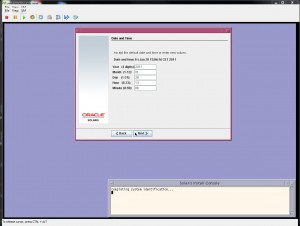
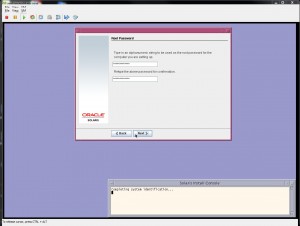
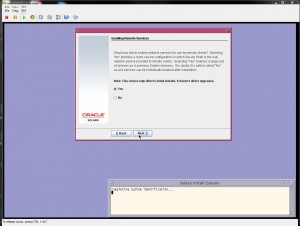
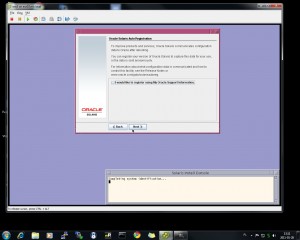

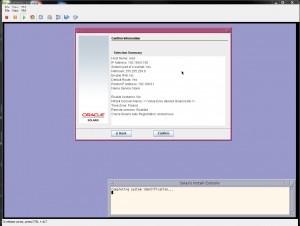
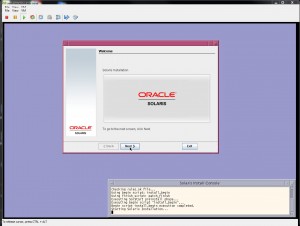
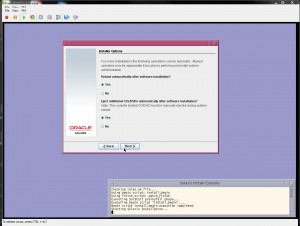
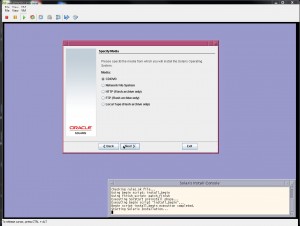
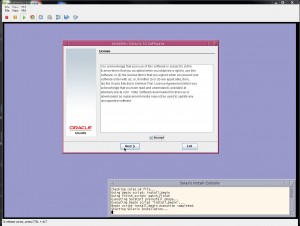
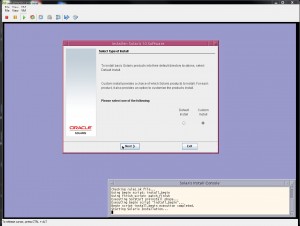
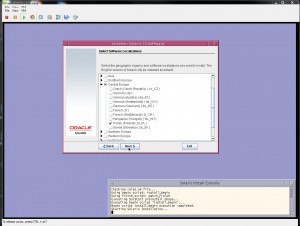
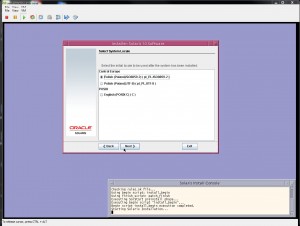
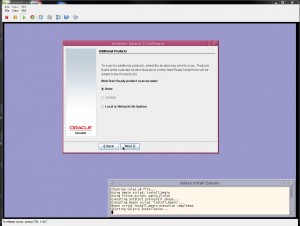
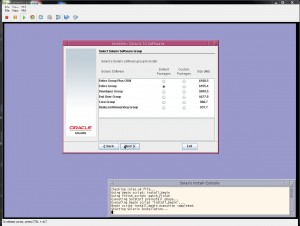
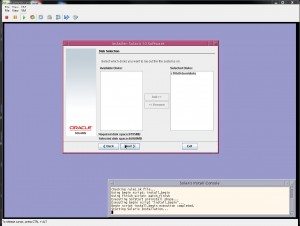
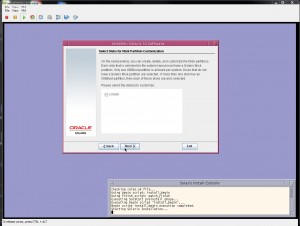
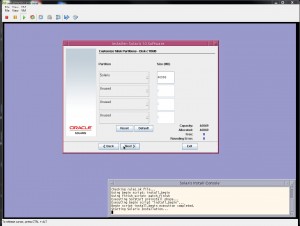
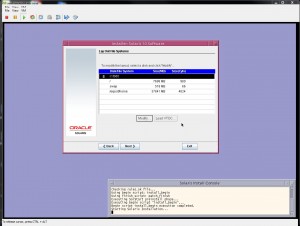
Układ domyślny:
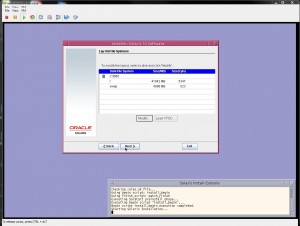
Na potrzeby mojego serwera testowego, zmieniam układ na:
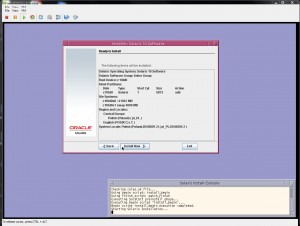
Po instalce trzeba stworzyć plik: /etc/resolv.conf który będzie wskazywał na nameserver, np.:
nameserver 153.19.105.120
ifconfig e1000g0
Dodatkowo trzeba zmodyfikować plik: /etc/nsswitch.conf i linię:
hosts: files
trzeba zmienić na:
hosts: files dns
Teraz nie powinno być już problemów z rozwiązywaniem nazw 
I trochę teorii:
The name service switch file determines which name services a system uses to search for information, and in which order the name services are searched.
All Solaris systems use the name service switch file.
Źródła:
http://www.softpanorama.org/Solaris/Reference/etc/nsswitch.shtml
Komentarze są wyłączone


